
What is the high jump approach run technique?
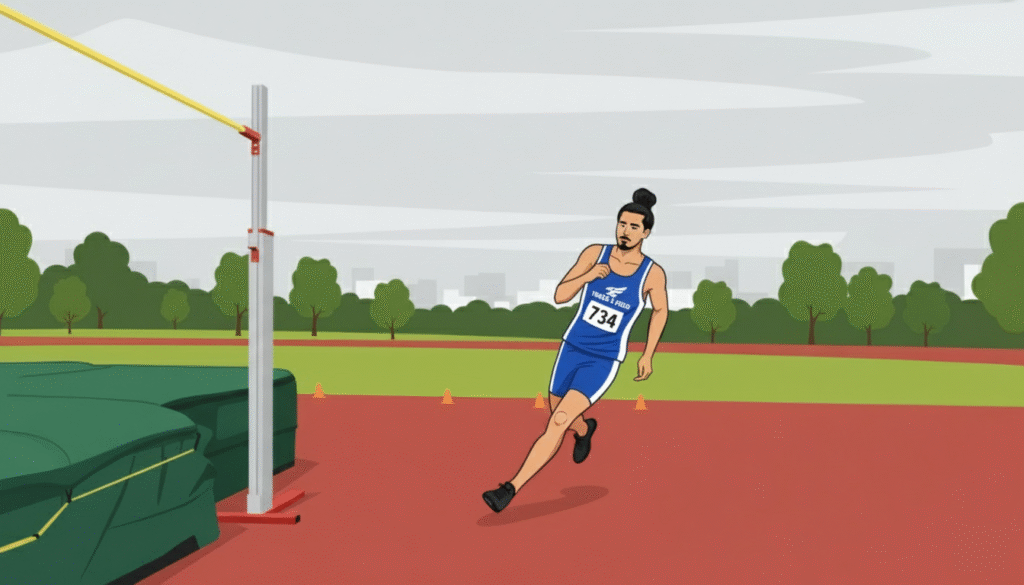
- The approach is a J-shaped run of 8–10 strides — a straight section that builds speed followed by a curved arc that creates the inward lean needed at takeoff
- The curve does the work: running the J correctly tilts your body toward the pit automatically — you don't create the lean, the curved path creates it
- Speed builds progressively — maximum controllable velocity arrives in the final 3–4 strides, not at the start
- The penultimate step (second-to-last) is longer than your normal stride — this drops the hips and loads the takeoff leg
- Your starting mark must be fixed with tape and rechecked every few sessions — athletes who eyeball it never develop consistent takeoff mechanics
Mastering the High Jump Approach Run: Introduction
The approach run is a critical component of the high jump, serving as the foundation for achieving maximum height and consistency. Many jumpers focus exclusively on the bar clearance, overlooking the power generator that propels them skyward: the approach run. This foundational phase isn’t merely about gathering speed—it’s a precise sequence that transforms horizontal momentum into vertical elevation.
Mastering this phase requires understanding the delicate balance between speed, angle, and body mechanics. Like a well-orchestrated dance, each step of your approach contributes to the final performance, with rhythm and precision determining your ultimate height. For elite jumpers, the approach run isn’t an afterthought—it’s where championships are won.
In this comprehensive guide, we’ll explore expert techniques to refine your approach run, breaking down the mechanics that separate good jumpers from great ones. Whether you’re competing at school level or aiming for national recognition, these strategies will help you break personal records and elevate your competitive edge. The path to higher jumps begins not at the take-off point, but with the very first step of your approach.
Mastering the High Jump Approach Run: Optimize Approach Run Mechanics
Refining the mechanics of your approach run lays the groundwork for a successful high jump. The approach isn’t simply about gaining speed—it’s about creating the perfect conditions for an explosive take-off. Every high jump approach run follows a distinct pattern that builds momentum while maintaining control, typically featuring a straight section followed by a curved path.
The J-shaped approach run has become standard among competitive high jumpers for good reason. This pattern allows athletes to convert horizontal speed into vertical lift through centrifugal force as they navigate the curve. For most jumpers, an approach of 8-10 strides proves optimal, though this may vary based on individual height, stride length, and strength.
Consistency is perhaps the most underrated aspect of high jump approach run technique. Without a repeatable pattern, jumpers find themselves making split-second adjustments that compromise power and precision. This is why elite jumpers measure their starting position meticulously and practice their approach runs independently of actual jumps.
Tracking your approach run can reveal valuable insights. Many coaches recommend placing markers at fixed points along your path to ensure consistency. Some jumpers even count their steps aloud during practice to internalize the rhythm that works best for them. These seemingly small details make enormous differences in competition settings where nerves can disrupt established patterns.
- Maintain a consistent stride pattern to ensure rhythm and balance by practicing your approach without the bar, focusing solely on foot placement and timing.
- Focus on proper foot placement to maximize efficiency and control, landing mid-foot rather than on your heels or toes to maintain momentum.
- Keep an upright posture to facilitate a smooth transition to take-off, avoiding the common mistake of leaning back or hunching forward during acceleration.
🎯 Free Resource: Drill Practice Cards
Get 15 essential high jump drills with step-by-step instructions, coaching cues, and common mistake corrections.
Download Free Drill Cards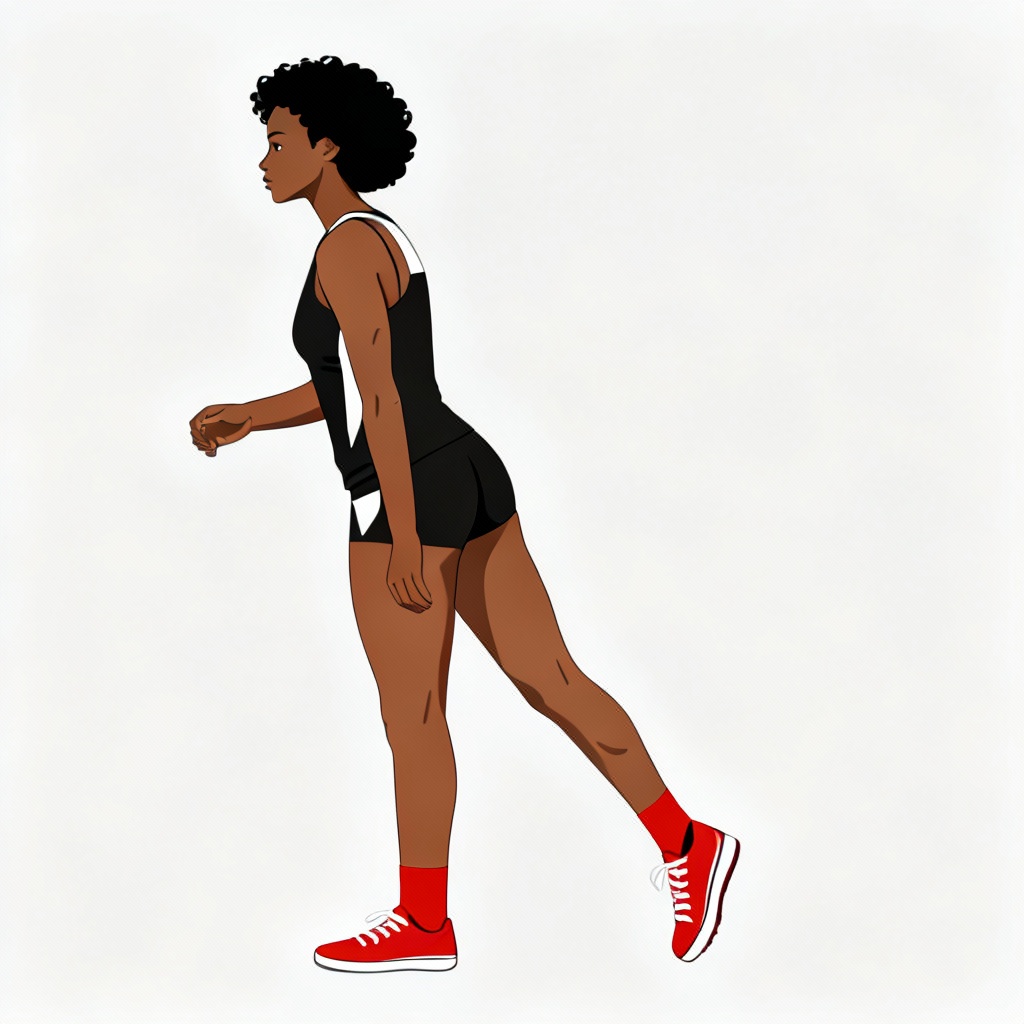
Mastering the High Jump Approach Run: Enhance High Jump Acceleration
Building acceleration is crucial for generating the speed needed to propel yourself over the bar. The relationship between approach speed and jump height is well-established in biomechanical research—faster approaches correlate with higher jumps, provided the speed can be effectively converted to vertical lift.
Many beginning jumpers make the critical error of starting too fast and then decelerating as they approach the bar. This pattern dramatically reduces jumping potential. Instead, elite jumpers build speed progressively, reaching maximum velocity in the final 3-4 strides before take-off. This progressive acceleration creates what coaches call ‘controlled speed’—fast enough to generate power but controlled enough to execute perfect technique.
Developing the explosive power necessary for high jump acceleration requires specific training beyond general fitness. Lower body plyometrics like box jumps and depth jumps develop the fast-twitch muscle fibers essential for explosive take-offs. Similarly, hill sprints and resisted running drills build the specific strength needed to accelerate effectively during your approach.
Your acceleration pattern should be personalized based on your physical attributes. Taller jumpers often benefit from longer approaches with more gradual acceleration, while shorter athletes may maximize performance with shorter, more explosive approaches. Experiment with different acceleration patterns during training, using video analysis to identify which pattern produces the most consistent results.
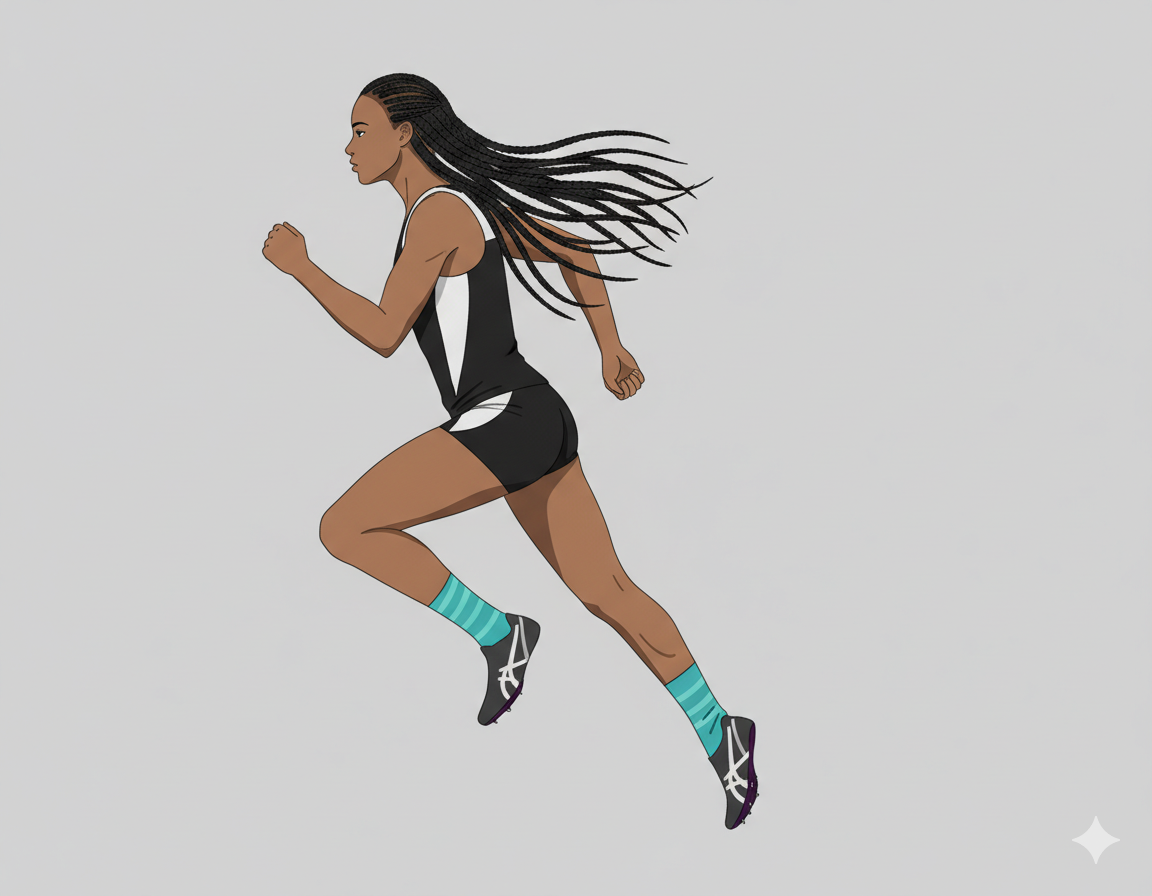
- Incorporate strength training exercises to boost leg power, focusing on squats, lunges, and plyometric movements that mimic the explosiveness required in high jump.
- Perform sprint drills to improve overall speed and agility, including high knees, butt kicks, and acceleration runs over 20-30 meters.
- Focus on explosive movements to enhance quickness during the run, training your neuromuscular system to generate maximum force in minimal time.
📊 Quick Resource: Track your bar clearance progress and identify weak points. Download the Bar Clearance Checklist here.
Mastering the High Jump Approach Run: Conclusion
Mastering the approach run in high jump is a multifaceted endeavor that requires attention to mechanics, speed, angle, and lift. The interconnected nature of these elements means that improvement in one area often enhances performance across all aspects of your jump.
By optimizing your run mechanics through consistent stride patterns and proper postural alignment, you establish the foundation for technical excellence. Enhancing acceleration through targeted strength and speed training provides the power necessary for higher jumps. Perfecting your take-off angle ensures efficient conversion of horizontal speed into vertical elevation, while maximizing lift through coordinated body movements completes the performance equation.
Remember that refinement of your high jump approach run technique requires patience and systematic practice. Elite jumpers spend years perfecting these elements, making incremental improvements that compound over time. Video analysis, coaching feedback, and consistent training are invaluable tools in this journey.
Implementing these expert strategies will not only help you achieve higher and more consistent jumps but also reduce injury risk through improved biomechanics. As you integrate these techniques into your training regimen, you’ll discover personal patterns and preferences that enhance your individual jumping style.
Embrace these techniques with dedication and attention to detail to elevate your athletic prowess and reach new heights in your high jump journey. The bar awaits—not as an obstacle, but as a milestone on your path to jumping excellence.

Mastering the High Jump Approach Run: Conclusion
Mastering the approach run in high jump is a multifaceted endeavor that requires attention to mechanics, speed, angle, and lift. The interconnected nature of these elements means that improvement in one area often enhances performance across all aspects of your jump.
By optimizing your run mechanics through consistent stride patterns and proper postural alignment, you establish the foundation for technical excellence. Enhancing acceleration through targeted strength and speed training provides the power necessary for higher jumps. Perfecting your take-off angle ensures efficient conversion of horizontal speed into vertical elevation, while maximizing lift through coordinated body movements completes the performance equation.
Remember that refinement of your high jump approach run technique requires patience and systematic practice. Elite jumpers spend years perfecting these elements, making incremental improvements that compound over time. Video analysis, coaching feedback, and consistent training are invaluable tools in this journey.
Implementing these expert strategies will not only help you achieve higher and more consistent jumps but also reduce injury risk through improved biomechanics. As you integrate these techniques into your training regimen, you’ll discover personal patterns and preferences that enhance your individual jumping style.
Embrace these techniques with dedication and attention to detail to elevate your athletic prowess and reach new heights in your high jump journey. The bar awaits—not as an obstacle, but as a milestone on your path to jumping excellence.
Common Approach Run Errors — and the Fix for Each
After filming hundreds of approaches, the same five errors show up repeatedly. Use this table as a self-diagnostic: watch your approach on video, match what you see to the error column, and apply the correction before your next session.
| Error | What It Looks Like | Why It Hurts | The Fix |
|---|---|---|---|
| Starting too fast | Full sprint from step 1, then visibly slowing before the bar | Deceleration into takeoff kills vertical force — you're slower at the plant than you were 4 steps earlier | "Jog, build, fly." Start controlled. Reach max speed in the last 3–4 strides, not the first 3. |
| Cutting the curve (the "football cut") | Straight approach → sharp cut directly at the bar at steps 5–7, losing the arc entirely | Eliminates the centripetal lean the J-curve creates — you arrive upright with no rotation loaded | "Stay on the circle." Run circle drills to feel the lean. The transition should be gradual, not a cut. |
| Bounding strides on the curve | Exaggerated up-and-down movement through the arc — athlete looks like they're skipping | Wastes forward momentum vertically, disrupts rhythm, and makes the penultimate step hard to time | "Quick and flat." Foot contacts on the curve should be fast and low — not bouncy. Think sprint, not skip. |
| Leaning toward the bar early | Upper body tilts toward the bar during the penultimate and plant steps | Shifts the takeoff direction sideways instead of upward — you jump toward the bar, not over it | "Hips up, not over." Stay tall through the plant. The rotation happens in the air, not on the ground. |
| Variable starting mark | Athlete walks to a different spot each jump, eyeballing position | Every variable in the approach changes: arrival point, lean angle, and penultimate step timing | "Tape doesn't lie." Mark it. Measure it. Recheck it every 3–4 sessions as your speed develops. |
Frequently Asked Questions
How do you run the high jump approach?
The high jump approach follows a J-shaped path: a straight section of 4–6 strides to build speed, followed by a curved arc of 4–6 strides that tilts your body inward toward the pit. The inward lean is not something you consciously create — it's produced by the curved path itself. Your last two strides before takeoff are the most critical: the second-to-last (penultimate) step is longer than your normal stride, and the final step (the plant) is shorter and quicker. This long-short rhythm loads the takeoff leg and converts your horizontal speed into vertical lift.
What is the J-curve in high jump?
The J-curve is the shape of the high jump approach run — named after the letter J. The straight part of the J is the initial acceleration zone where you build horizontal speed. The curved part is where the path arcs toward the bar, creating centripetal force that tilts your body inward. This inward lean is the mechanical key to the Fosbury Flop: it positions your body to rotate backward over the bar during the jump. Without the curve, you arrive upright and have no rotational momentum loaded for the clearance.
How do you find your starting mark in high jump?
Stand at the takeoff point with your back to the bar. Walk or jog your approach in reverse — step backward along your approach path for your full stride count. The spot where your first stride lands is your starting mark. Mark it with tape. This reverse-walk method accounts for your individual stride length and approach angle. Your starting mark will shift slightly as you get faster and stronger — recheck it every 3–4 sessions rather than assuming it stays constant. Athletes who eyeball their start from memory produce a different takeoff position on nearly every jump.
How many steps should a high jump approach be?
Most competitive high jumpers use an 8 to 10-step approach — typically 4–6 steps on the straight section and 4–5 steps on the curve, including the penultimate and plant steps. Beginners should start with a 6-step approach to reduce variables while learning the J-curve shape. Add steps only after the existing approach is consistent and producing a reliable takeoff position. Taller athletes with longer strides sometimes use fewer total steps; shorter athletes with faster turnover may use more. There's no universal number — what matters is that your step count is fixed, measured, and practiced until automatic.
What does the penultimate step do in high jump?
The penultimate step — the second-to-last stride before the plant — is the most mechanically loaded moment of the entire approach. A longer-than-normal penultimate step drops the hips, shifts the center of mass slightly behind the takeoff foot, and loads the takeoff leg with elastic energy, similar to how bending your knees loads a squat. That stored energy is what gets released upward at toe-off. If the penultimate step is the same length as all the others, the loading doesn't happen and the jump comes out flat. The cue: long step, short step — go up.
Should you slow down before the high jump bar?
No — and deceleration is one of the most common approach errors at the high school level. The ideal approach builds speed progressively, reaching maximum controllable velocity in the final 3–4 strides before the plant. "Controllable" is the key word: you need speed you can maintain through the curve without disrupting your stride pattern or body position. Slowing before the bar reduces the horizontal momentum available for conversion into vertical lift. If you're slowing down, either your starting speed is too high, your curve is too tight, or both.
🎯 Ready to Master Essential Drills?
Get 15 essential high jump drills with step-by-step instructions, coaching cues, and common mistake corrections.
Download Free Drill Cards →