
High Jump Flight Techniques: What Happens Between Takeoff and Landing
You leave the ground. For the next second and a half, you're committed—no adjustments, no second chances. Everything you do during flight was set up in the three steps before takeoff.
The flight phase isn't mysterious. It's physics combined with body positioning you can learn and repeat. What looks like natural talent is usually just technique practiced until it becomes automatic.
This article breaks down exactly what happens between leaving the ground and landing on the mat. We'll cover the approach run setup, the takeoff mechanics, the Fosbury Flop sequence, and how these pieces connect. No hype—just the technique work that adds centimeters to your clearance.
The Approach Run: Setting Up Your Takeoff
Your approach run has one job: get your body to the takeoff point with the right speed, at the right angle, in the same way every time.
Most jumpers use 8-12 steps. The exact number matters less than consistency. If your plant foot lands in a different spot on every jump, you're guessing instead of executing technique.
Why the Curve Matters
Running in a J or C-shaped curve creates centrifugal force that tilts your body away from the bar during takeoff. This lean sets up the rotation you need for the Fosbury Flop. Without the curve, you'd be jumping straight up and forward—impossible to clear with your back to the bar.
The curve doesn't need to be dramatic. Start with a gentle arc that gradually tightens in your final three steps.
Rhythm Over Speed
Beginners sprint toward the bar and lose control. The approach isn't a race—it's a gradual acceleration with specific checkpoints.
Break your approach into three phases:
- Steps 1-4: Controlled rhythm. You're building speed but staying relaxed.
- Steps 5-8: Gradual acceleration. Your stride lengthens naturally as you speed up.
- Final 3 steps: Maximum controlled speed. You're not trying to run faster—you're preparing to convert horizontal momentum into vertical lift.
The Takeoff: Converting Speed into Height
The takeoff is where your approach run becomes your jump. Get this wrong and even a perfect approach can't save you.
Plant Foot Positioning
Your plant foot should land 60-80 centimeters from the vertical plane of the bar. Too close and you'll hit the bar on the way up. Too far and you won't clear it at all.
Your body should be leaning slightly away from the bar at the moment of contact. If you're leaning toward the bar or standing straight up, your approach curve needs adjustment.
The Penultimate Step
Your second-to-last step is longer than your normal stride—usually 10-20cm longer. This drops your center of gravity and creates a "loading" effect in your takeoff leg.
Here's what you should feel: Your hips drop slightly lower than your normal running position. You're compressing like a spring. Then your final step explodes upward—not forward.
If you're still pushing forward on takeoff, you'll overshoot the mat and land short.
Arm Drive
As your plant foot contacts the ground, both arms swing upward in a coordinated motion. This isn't decoration—the arm drive contributes directly to your vertical velocity and initiates the rotation needed for the Flop.
Takeoff Leg Position
Your takeoff leg should be nearly straight (not locked) at the moment of maximum force. Your free leg drives upward with knee bent, leading the rotation.
Think of your takeoff leg as a pole vault pole—it stays firm while everything else moves around it. If your takeoff knee collapses, you're absorbing force instead of transmitting it upward.
Not Sure If Your Technique Is Working?
The Bar Clearance Checklist breaks down every phase—from approach to landing—with specific checkpoints you can track in training. Stop guessing and start measuring what matters.
Get the Free ChecklistThe Fosbury Flop: Back-First Clearance
The Flop works because it lets your center of gravity pass under the bar while your body passes over it. You don't need to lift your entire mass over the height—just arch your body at the right moment.
Here's the sequence you need to train:
Phase 1: Rotation Initiation (Takeoff to Peak)
After takeoff, your body begins rotating. Your inside shoulder drops back, your hips drive upward, and your head stays neutral.
Head position matters: Keep your eyes on a fixed point (ceiling, sky, top of the pole). Don't look for the bar. Looking down tips your shoulders forward and collapses the arch.
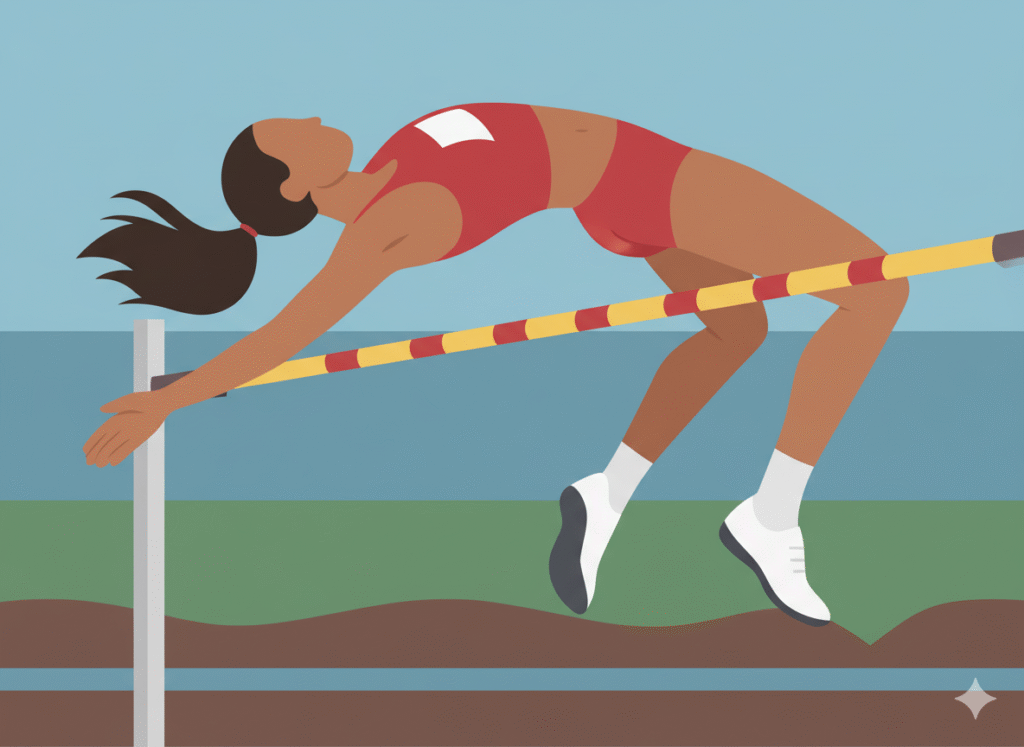
Phase 2: The Arch (At Peak Height)
As you reach maximum height, your back arches over the bar. Maximum extension happens directly over the bar—not before, not after.
Your hips are the highest point of your body. Your shoulders and legs hang lower. This creates the arch that lets your center of gravity pass underneath the bar.
Timing this correctly: The arch isn't something you force. It's the natural result of proper rotation from takeoff plus relaxation at the peak. Trying to arch too early kills your upward momentum.
Phase 3: Leg Clearance (After Peak)
Once your shoulders and back clear the bar, your legs need to follow. This is where most missed jumps happen—athletes clear the bar with their upper body but catch it with their heels or calves.
The leg action: As your hips clear the bar, lift both knees toward your chest. Your legs should form an L-shape with your torso. This pulls your feet up and over.
Head Position Through the Sequence
Keep your head neutral (not looking up, not looking down) until your hips clear the bar. Then—and only then—tuck your chin slightly to complete the rotation for landing.
Looking for the bar during flight tips your shoulders forward and destroys your arch. Looking for the mat too early drops your hips and catches the bar with your backside.
Pick your visual reference point before you start your approach. Keep your eyes on it through takeoff and flight.
Common Technical Breakdowns
Most failed clearances come from one of four places:
Problem: Hitting the bar on the way up
Cause: Plant foot too close to the bar, or insufficient lean away from the bar at takeoff.
Fix: Mark your plant position with chalk. Measure distance from the bar. Adjust starting position to increase distance. Film from the side to check your lean angle.
Problem: Clearing with upper body, catching with legs
Cause: Late leg tuck, or stiff lower body during flight.
Fix: Practice leg tuck on low heights until it becomes automatic. Focus on pulling knees to chest immediately after hips clear.
Problem: Landing short of the mat
Cause: Too much forward momentum at takeoff, not enough vertical conversion.
Fix: Check your penultimate step—it should drop your hips and redirect momentum upward. Practice approach with emphasis on vertical explosion, not horizontal speed.
Problem: Inconsistent clearances at the same height
Cause: Inconsistent approach rhythm or plant position.
Fix: Film ten approaches. Measure plant foot position on each. If variation exceeds 15cm, slow down approach speed and rebuild consistency before attempting to add speed back.
Related Training Elements
Flight technique doesn't exist in isolation. Your ability to execute these positions depends on:
Flexibility: The back arch requires thoracic spine mobility and hip flexor length. If you can't achieve the arch on a mat, you won't achieve it over the bar. Flexibility training specific to high jump addresses these limitations.
Explosive power: Converting horizontal speed to vertical lift requires fast-twitch fiber recruitment and rate of force development. Plyometric training builds this capacity.
Body awareness: Knowing where your body is in space without looking is a learned skill. Progression drills develop proprioception through repetition at reduced speeds.
What to Focus on This Week
The flight phase comes down to four things you control:
- Consistent approach (same speed, same curve, every jump)
- Explosive takeoff with proper lean away from the bar
- Back arch timing over the bar at peak height
- Leg tuck immediately after hips clear
You don't need to think about all four during competition. That's what training is for—practice each piece separately until the sequence is automatic.
Start here: Film five consecutive jumps this week. Watch specifically for plant foot consistency. If your plant position varies by more than 10cm, that's your first fix. Slow down and rebuild the approach rhythm before adding speed back.
The height comes when the technique is consistent.
Track Your Progress With Structure
The Bar Clearance Checklist gives you specific checkpoints for every phase of the jump. Use it to identify exactly where technique breaks down—so you know what to fix in your next training session.
Download the Checklist