
High Jump Bar Clearance Techniques: When it comes to high jump success, the difference between clearing the bar and knocking it down often comes down to millimeters and milliseconds. Elite jumpers understand that mastering advanced bar clearance techniques isn’t just about jumping higher—it’s about jumping smarter. These techniques involve a harmonious integration of precise body positioning, impeccable timing, and efficient energy transfer that transforms good jumpers into great ones.
Whether you’re competing at collegiate levels or aiming for international competition, refining your bar clearance can be the key to breaking through performance plateaus. In this comprehensive guide, we’ll explore the sophisticated mechanics and training approaches that can help you maximize your vertical potential and consistently clear heights that once seemed impossible.
From optimizing your approach run to perfecting the subtle body manipulations during flight, each element we’ll discuss builds upon the foundation of basic high jump technique. These advanced strategies require patience and dedicated practice, but the performance improvements they yield make the effort worthwhile. Let’s discover how the science of biomechanics and the art of body awareness combine to create truly exceptional high jumps.
High Jump Bar Clearance Techniques: Optimize Your Approach Run
The approach run in high jump is far more than just a sprint toward the bar—it’s a precisely calibrated movement sequence that directly influences your takeoff quality and ultimate clearance height. Elite jumpers understand that the approach run isn’t just about building speed; it’s about generating controlled momentum that can be effectively converted into vertical lift.
Research in sports biomechanics shows that the ideal approach creates a curved path that allows jumpers to lean away from the bar, facilitating the rotation needed for efficient clearance. This curve shouldn’t be arbitrary—it should be meticulously measured and consistently replicated in training. Many coaches recommend marking your approach with small cones or tape to ensure stride-to-stride consistency until the pattern becomes second nature.
The most effective approach typically consists of 8-12 strides for experienced jumpers, with the exact number depending on individual height, stride length, and comfort. The initial straight portion builds horizontal velocity, while the curved section sets up proper body positioning for takeoff. During the curve, your body naturally leans inward, creating the angular momentum that will help you rotate over the bar during the clearance phase.
Speed management is crucial—you need enough velocity to generate lift, but excessive speed can make it difficult to execute proper takeoff mechanics. This is where the concept of ‘controlled aggression’ becomes important. Your approach should feel powerful but never frantic or rushed. Elite jumpers often describe the ideal approach as feeling ‘on the edge of control’ where they’re moving quickly but still able to make micro-adjustments as needed.
- To maintain a consistent stride pattern, practice your approach without jumping, focusing solely on hitting the same foot positions repeatedly. Use video analysis to identify inconsistencies in your stride length or rhythm.
- The penultimate step—the second-to-last step before takeoff—deserves special attention. This step should be slightly longer than your normal stride and flatter-footed, helping to lower your center of gravity and set up an effective takeoff position. Think of it as ‘loading the spring’ before the explosive final step.
Bar Clearance Checklist
Track your technique progress and identify weak points systematically with our comprehensive bar clearance assessment tool.
Download Free Resource →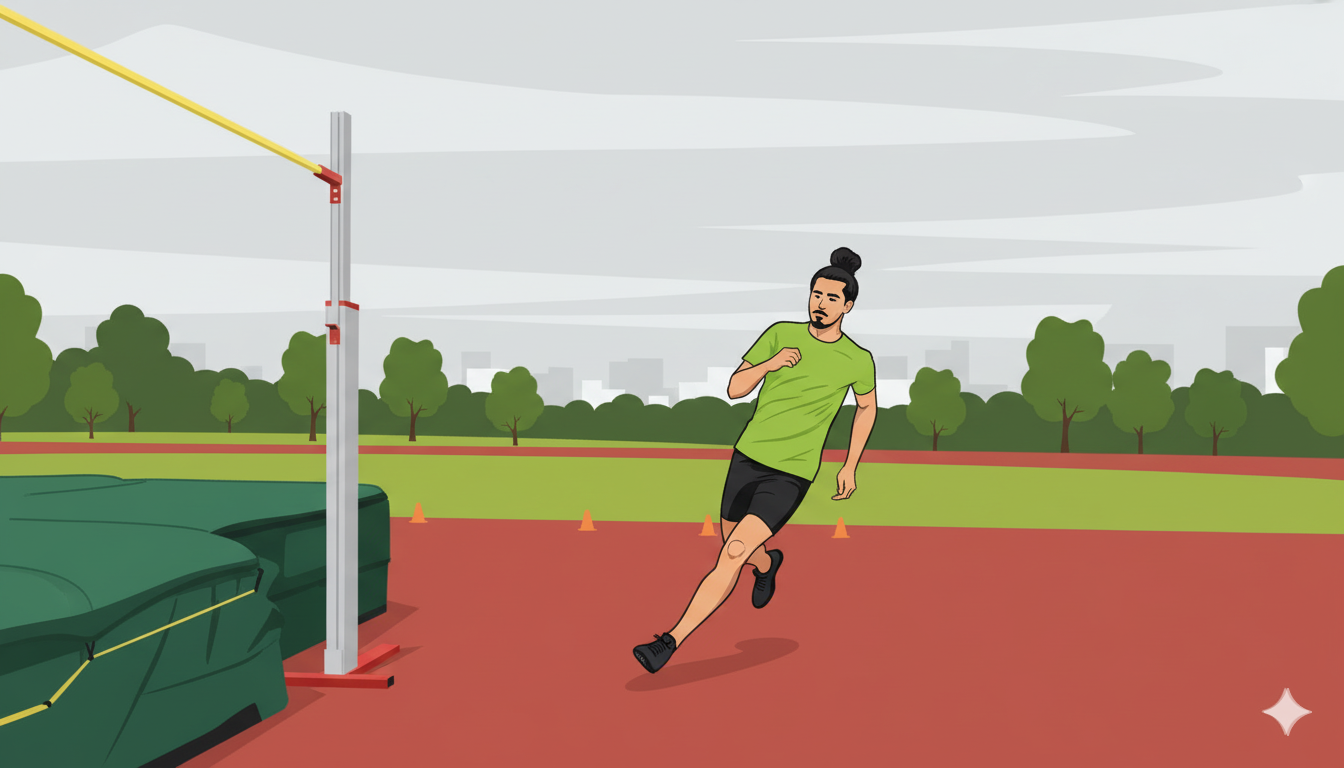
High Jump Bar Clearance Techniques: Refine Your Take-Off Mechanics
The take-off phase represents the critical moment where horizontal momentum transforms into vertical elevation—the linchpin of successful bar clearance. Advanced jumpers understand that optimizing this phase involves precise coordination of multiple body segments working in harmony.
The plant foot should strike the ground with a dorsiflexed ankle (toes pulled up toward the shin), creating a firm foundation for force transfer. As the take-off leg compresses, it acts as a spring that stores energy before rapidly extending. This extension should follow a sequential pattern—ankle, knee, then hip—to maximize the vertical impulse generated. Studies show that this coordinated triple extension can increase vertical force production by up to 15% compared to simultaneous joint extension.
Arm action during takeoff is equally crucial but often overlooked. The lead arm (opposite to the takeoff leg) should drive upward forcefully, while the trail arm swings forward in a shorter arc. This asymmetrical arm action creates rotational momentum that facilitates turning toward the bar. Elite jumpers time this arm drive precisely with leg extension, creating what coaches call a ‘block effect’ that enhances vertical velocity.
Torso positioning during takeoff must be upright to maximize height. Leaning excessively forward or backward reduces your body’s ability to convert horizontal speed into vertical lift. Think of your spine as an extension of your takeoff leg, creating a straight line of force from the ground through your body. This alignment enables efficient energy transfer and sets up proper rotation for the bar clearance phase.
Perhaps most importantly, take-off should occur at the optimal distance from the bar—typically about 1-1.5 foot lengths away from the bar’s projection on the ground. This distance varies based on approach speed and jumping style, but finding your personal optimal distance is essential for maximizing clearance height. Too close, and you’ll rise into the bar; too far, and you’ll peak before reaching it.
- To develop powerful ankle, knee, and hip extension, incorporate plyometric exercises like depth jumps and single-leg bounds into your training regimen. These exercises train the stretch-shortening cycle vital for explosive takeoff. Advanced jumpers often use weighted vest jumps to further enhance strength-to-weight ratio in these movements.
- Keeping the free leg (non-takeoff leg) compact during initial takeoff creates a more efficient lift. Think of tucking the knee slightly rather than letting it swing wide. This compact position reduces rotational inertia, allowing for quicker and more controlled rotation over the bar. Once airborne, this leg will extend as part of your bar clearance technique.
📊 Ready to Master Bar Clearance?
Track your technique progress and identify weak points systematically with our comprehensive bar clearance assessment tool.
Download Free Checklist →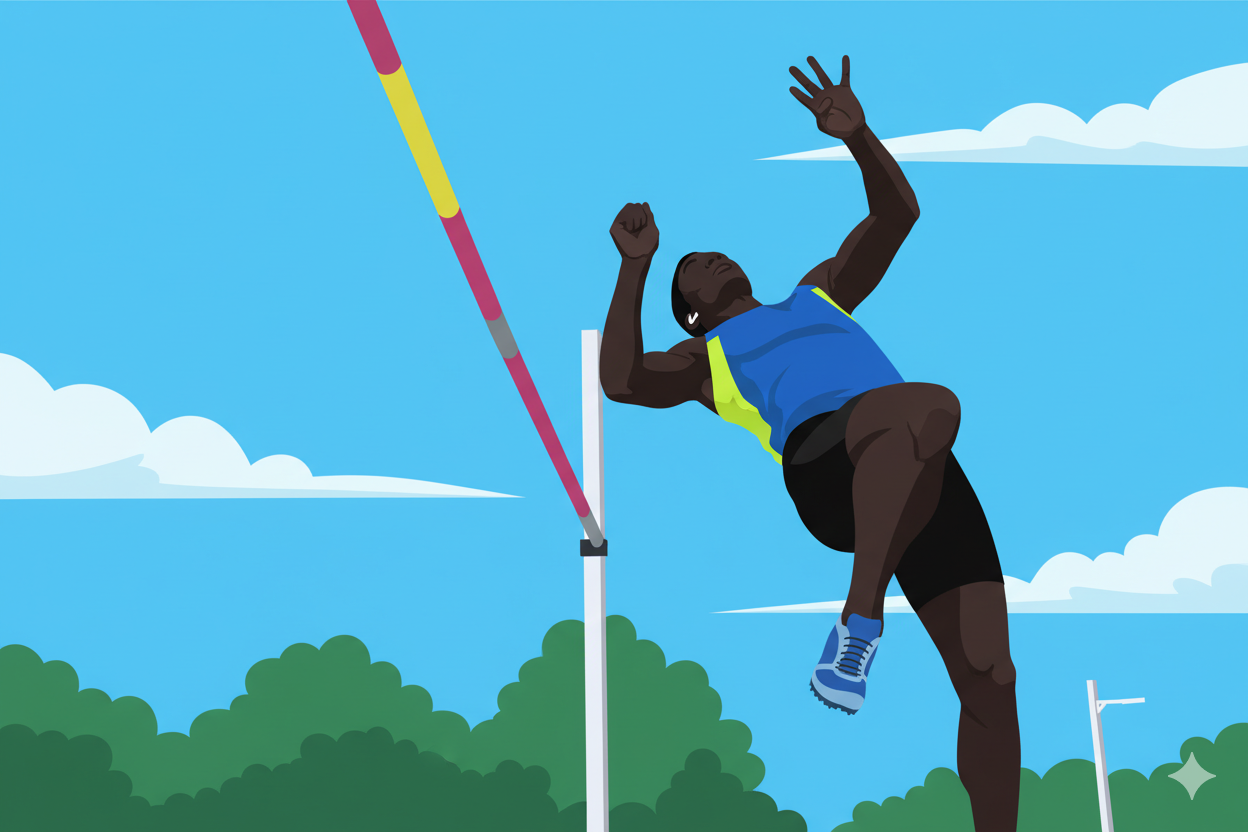
High Jump Bar Clearance Techniques: Enhance Bar Clearance Techniques
Bar clearance represents the culmination of all preceding efforts, where technical proficiency truly separates elite jumpers from the rest. Advanced bar clearance isn’t merely about getting your body over the bar—it’s about managing the trajectory of each body segment to minimize the effective height you need to clear.
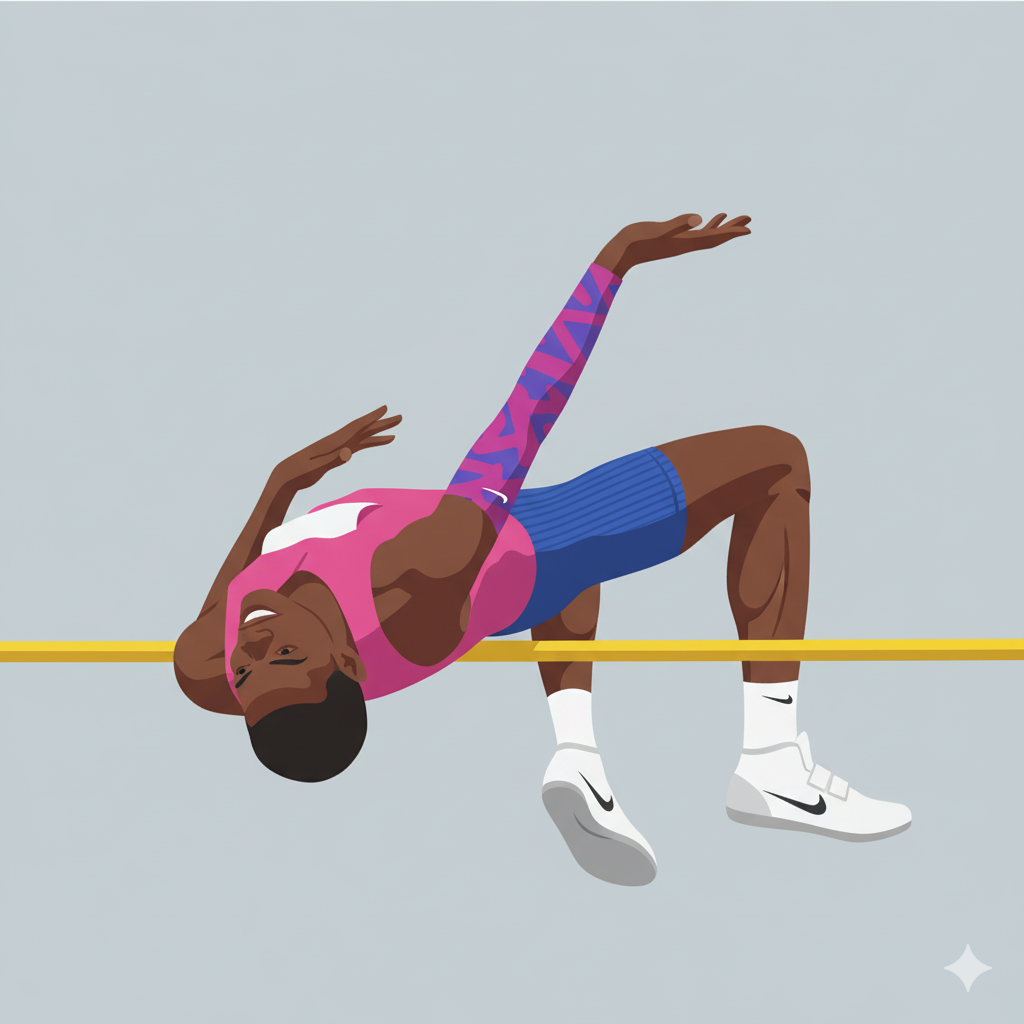
The Fosbury Flop technique, now used by virtually all elite jumpers, creates a body position where your center of mass actually passes under the bar while your body arches over it. This biomechanical advantage allows jumpers to clear heights several centimeters higher than their maximum center of mass elevation. Perfecting this technique requires developing exceptional back flexibility and spatial awareness.
The sequence of bar clearance follows what coaches call the ‘wave principle,’ where body parts cross the bar in succession rather than simultaneously. This begins with the head and shoulders leading the rotation, followed by the torso arching deeply, and concluding with the legs and feet clearing last. This sequential clearance minimizes the height each individual body part must achieve.
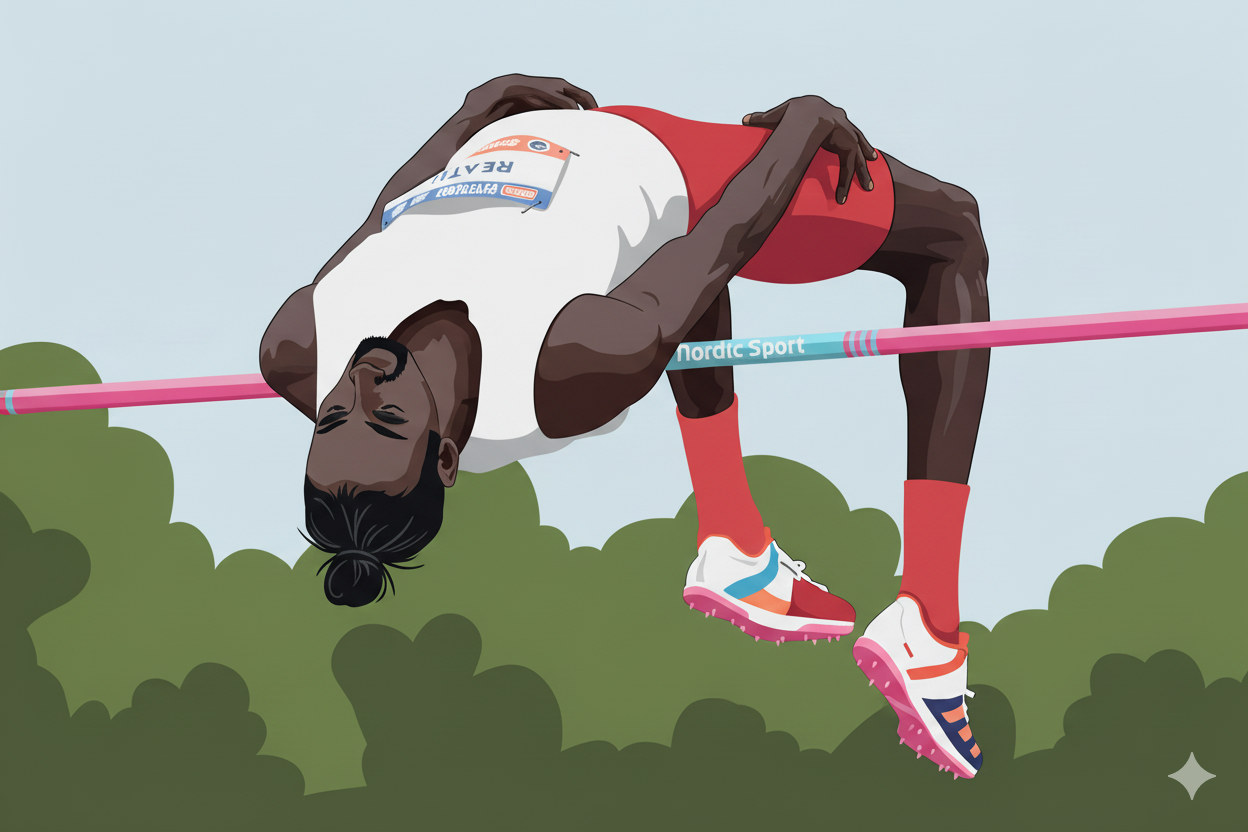
Head position is particularly crucial during clearance. Elite jumpers tuck their chin to their chest as they approach the bar, then rapidly extend their neck backward once over the bar. This action initiates the arching movement and helps position the shoulders correctly. Some coaches teach this technique by having athletes focus on trying to see the landing mat during the peak of their jump.
Advanced jumpers also master the subtle skill of active shoulder depression during clearance. By consciously pulling the shoulders down and back (similar to a reverse shrug), they create additional clearance space between their torso and the bar. This small adjustment can make the difference between a successful jump and a frustrating bar knock-off.
The final phase of clearance involves leg management—specifically, delaying leg lift until the torso has cleared the bar. Premature leg lift causes the hips to drop, often resulting in bar contact. Instead, keep legs relatively passive initially, then actively lift them once your torso has passed the bar’s plane. This timing requires practice but becomes instinctual with repetition.
- To effectively implement the Fosbury Flop, focus on creating a ‘C’ shape with your body at the peak of your jump. This extreme arch positions your center of mass below the bar while allowing your body to pass over it. Gymnastics-inspired back extension exercises can help develop the necessary flexibility and body awareness for this position.
- Proper shoulder and back positioning requires active engagement rather than passive movement. As you cross the bar, think of pressing your shoulder blades down toward your waist while simultaneously opening your chest toward the sky. This active positioning creates maximum clearance space between your torso and the bar.
Mastering advanced bar clearance techniques represents the pinnacle of high jump training—where science meets artistry and physical capability merges with technical precision. Through diligent refinement of your approach run, take-off mechanics, bar clearance techniques, and timing coordination, you position yourself to achieve heights that previously seemed unattainable.
The journey toward advanced bar clearance mastery isn’t linear or quick. It requires patient progression, meticulous attention to detail, and willingness to occasionally deconstruct your technique to rebuild it more efficiently. Video analysis becomes an invaluable tool in this process, allowing you to identify subtle inefficiencies that may be limiting your performance.
Remember that these advanced techniques build upon fundamentals. Even Olympic champions continuously revisit basic drills to reinforce the movement patterns that support their more sophisticated skills. This iterative approach—moving between fundamental and advanced practice—creates the deep neural patterning necessary for consistent performance under competitive pressure.
Perhaps most importantly, advanced bar clearance isn’t merely about physical technique but also about developing the mental acuity to make split-second adjustments. Elite jumpers describe entering a state of ‘conscious automaticity’ where their body instinctively executes precise movements while their mind maintains awareness of position and timing.
As you implement these advanced techniques, be patient with your progress. Significant technical changes typically produce temporary performance plateaus before yielding breakthroughs. Trust the process, maintain consistent practice, and gradually integrate these sophisticated approaches into your jumping repertoire. The resulting improvements in height clearance, consistency, and competitive confidence will prove well worth the investment.
With dedicated practice of these advanced techniques, you’ll not only clear higher bars but also develop a deeper appreciation for the elegant complexity that makes high jump one of track and field’s most technically fascinating events.
Free Training Resource
Ready to Master Bar Clearance?
Track your technique progress and identify weak points systematically with our comprehensive bar clearance assessment tool.
Download Free Checklist →✓ Free forever ✓ No credit card required ✓ Instant download